
Last December, I created a new Linux distro called Happy Hacking Linux, specifically for developers who need a fast minimalist desktop that comes with a good package system. Arch Linux has been my favorite distro for past 10 years, because it lets you build your system by yourself, and gives more than 55.000 packages in its official and community package registires.
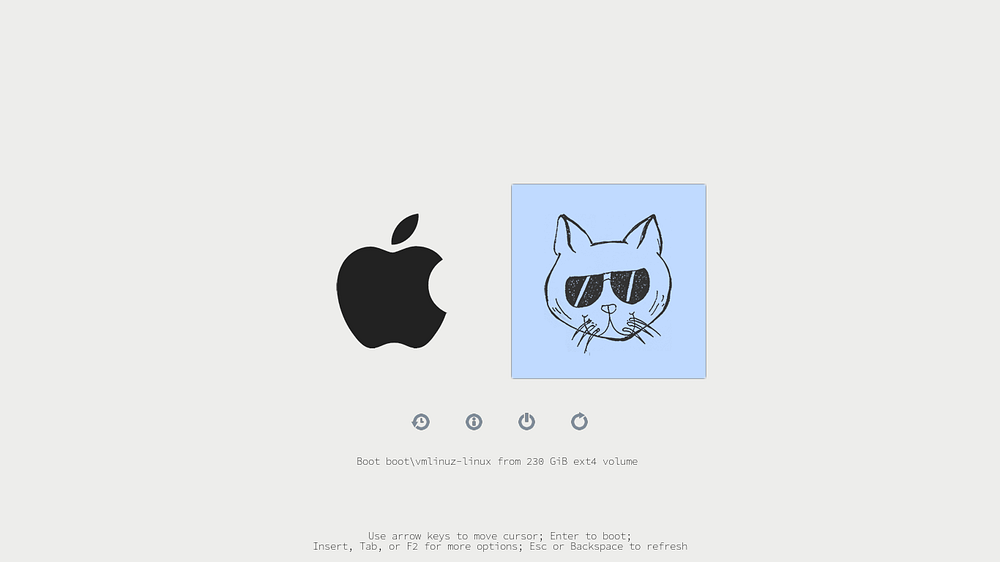
So I took Arch Linux, changed the logo with a cat wearing sunglasses (my wife drew it for me), built a new installation wizard from scratch, and automated what many developers do; setting up users, fonts, network, Xmonad desktop with default config, etc… This new installer is created using command-line dialogs, but it’s smart enough to detect if user is on a Macbook. It automatically sets up wifi, audio, also configures screen brightness, keyboard backlight buttons so you don’t have to.
More than 8 months, I’ve been using this distro and had really good experience with it. For example, I could turn my father’s old computer into a fast development machine in 30 minutes and create a new homepage same day. When my 2013 Macbook Air got very slow after updates, I could install Happy Hacking Linux and do my work without all that distraction that slows me down. Plus, I have access to 60k packages in two different registries, when Brew on Mac only got about 5000 packages in its ecosystem.
In the rest of the article, I’ll explain how to install Happy Hacking Linux on a Macbook, for people who want to keep Mac OS.
How to dual boot?
It’s pretty straightforward to setup a Mac for dual-boot. Here are the steps with links to how-to sources;
- Disable System Integrity Protection
- Download rEFInd
- Install rEFInd & Create Partition for Linux
- Install Happy Hacking Linux Boot Theme
Making Installation Stick
Step by step:
-
Download the last version
-
Plug a USB stick in your computer
-
Unplug all other USB sticks & external disks. If you accidentally choose the wrong disk, you may lose valuable data.
-
Running
diskutil listcommand to figure out the path of your USB stick. Verify you found the correct path, because running dd on that path will destroy all the data inside. -
Now, write the ISO into the USB stick by running this command;
sudo dd if=path/to/happyhacking.iso of=/dev/rdiskX bs=1m
Done! Now you’re ready to start installing Happy Hacking Linux!
Installation
Once the USB stick is ready, keep it plugged and reboot your system. rEFInd should show options to boot bunch of Linux installers, choose the second Linux option, and wait until you see the blue screen asking your name.
The first steps of the installation will ask you to choose a username, and also a Git repo where you keep your dotfiles (make sure it’s public). A part of the installation, your dotfiles will be automatically linked in the home directory.

After that, you’ll be asked to choose Wi-Fi network via nmtui connect command. If you don’t see the network you’re looking for in that list,
press Quit button until the network shows up.
The next step is partition, where you need to carefully select the partition that will be formatted. For dual-boot,
choose cfdisk and create a single Linux partition. Note the path of that partition, because next dialog will
ask you to type it. In my case, it was sda4 so I typed /dev/sda4 to the prompt asking me where to mount / (root) system.
Rest of the installation is quite simple; the wizard configures users and permissions, installs drivers & packages, automatically detects your timezone and migrates your Wi-Fi connection so you’ll be automatically connected when you first boot up the system.
When you’re asked to override the existing boot, choose the No answer as we don’t want to override rEFInd boot.
If you got a post-install.sh file in your dotfiles repo, it’ll be executed by the installer, so you can customize the installation.
With an average wi-fi speed, installation should take about 30 minutes. If things go wrong, you can exit the installer by pressing
Control-C and continue installation by running /usr/local/installer/installer.sh script.
Once the installer tells you installation is done, exit the installer and type reboot to restart your system.
Choose the cat logo in the boot menu, type your username (you specified it in the first step of installation) and password, viola!
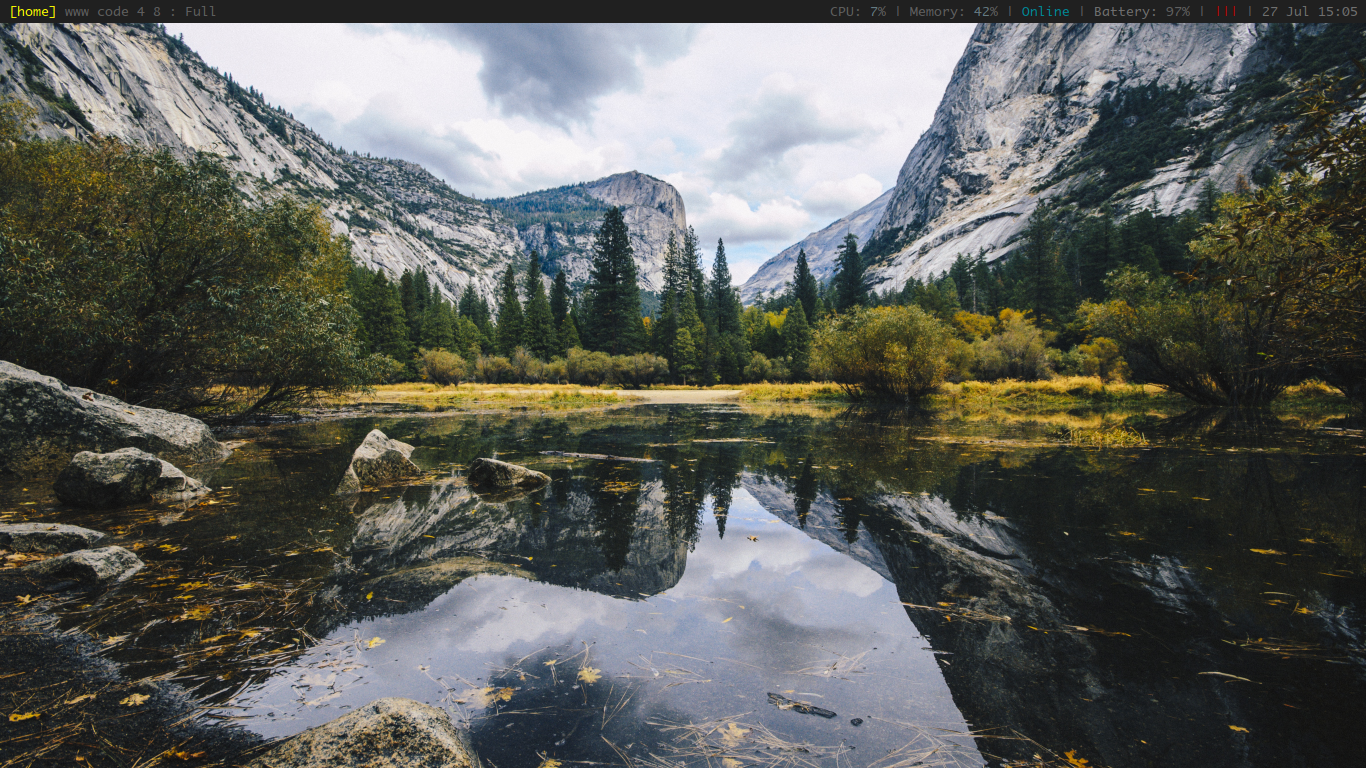
Here is the default desktop you’ll see;
After Installation
If it's your first time to be on an Xmonad desktop, please try out these shortcuts to warm up;
⌘-Shift-Space: Opens a new terminal⌘-Shift-C: Close selected window⌘-P: Opens dmenu, so you can launch a program⌘-Shift-C: Closes the focused window⌘-Space: Changes the window layout⌘-J-⌘-K: Switch between windows.⌘-H-⌘-L: Resize selected window.
After some exercise, you'll get used to these shortcuts and it'll be very comfortable for you.
You must be ready to browse the internet with your new system. Let's install a web browser using Arch Linux repositories;
- Open up a terminal (
⌘-Shift-Space) - Install Firefox or chromium via Pacman; run
pacman -S firefox - Once installation is done, hit
⌘-Pand typefirefoxto open up your web browser. - Firefox will be opened in the WWW workspace. Hit
⌘-Sor⌘-2to switch to WWW workspace.
Workspaces
Happy Hacking Linux has 3 named workspaces, 6 numbered workspaces. The named workspaces are;
- Home (
⌘-1or⌘-d) - WWW (
⌘-2or⌘-s) - Code (
⌘-aor⌘-3)
Browsers will open up in WWW workspace automatically. Emacs will open up
in the Code workspace. You can modify this behavior by editing ~/.xmonad/xmonad.hs file. Don’t forget recompiling the config by running xmonad — recompile and you can always restart Xmonad by pressing ⌘-Q.
Coding
I do all my work on a 11" Macbook Air with small screen, and tiling window managers help me to maximize my usage of the screen. Here are some helpful shortcuts I use for coding;
- Remove Borders:
⌘-b - Toggle Top Bar:
⌘-o
Happy Hacking Linux comes with a specific workspace for coding, with a fixed Mirror Tall layout by default. This layout is perfect for having the editor on top, having the terminal on the bottom.
Although WWW workspace is only dedicated for web browsing, you can do
live frontend coding there. Whenever I need to change the
front-end code, I move my editor to WWW workspace pressing
⌘-Shift-2 , split the window to three parts; the browser, inspector
and the editor.

Xmonad Helps You Manage The Windows Easily
Final Words
For more information, check out the videos and other documentation in the homepage. If you need help, you can join our Slack channel.